Add Blog Entry
We want "blogging" to be a big feature on e-Rocks.
Posting blogs here although similar to Facebook etc is different in that all items can be filed and cross referenced to our database so the information is indexed, time stamped and retrievable.
Posting a blog is designed to be simple and fast, for quick messages and photographs, however this interface can also go "Full Blog" and use all our rich text and embedding features for longer journals and articles.
In both methods the blog interface is set up to let you quickly file your post plus photos against:
- Item on the Database (Collection or For Sale)
- Mineral (one or more)
- Locality (one or more)
- Collector/Attribution
- Website (on or off e-Rocks)
- Other blog
This page takes you through the steps to post a blog.
1. Log In
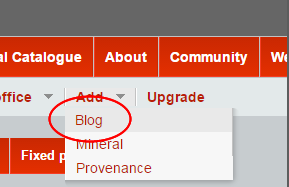
2. Locate Add Button
This button is to the middle right of the main site browser personal menu.
Roll cursor over button and options will expand - click Blog.
The Blog page will open.
The page is divided into logical sections each with a banded heading.
Depending on selected options the page will change menu options logically as you work through.
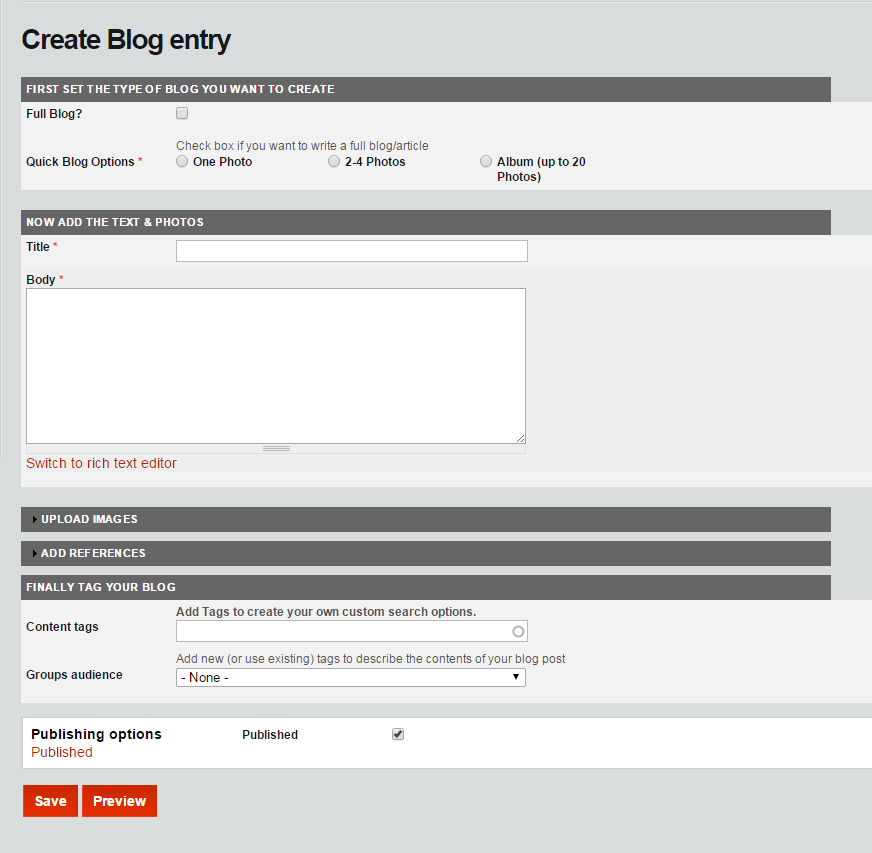
3. First Set The Type Of Blog You Want To Create
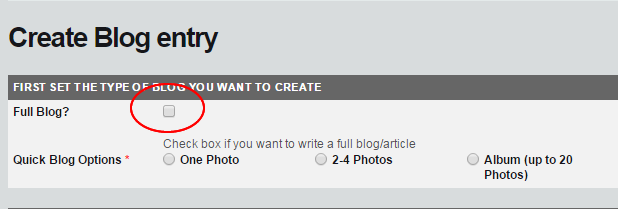
Only check the Full Blog if you want to submit a longer article.
If Full Blog is selected the options for photographs will disappear (uncheck and they will return).
In Quick Blog mode you have the choice on the number of photos you want to add:
- One Photo
- 2-4 Photos
- Album (Up to 20 Photos)
Your selection here sets up the correct image upload box below.
4. Now Add The Text & Photos
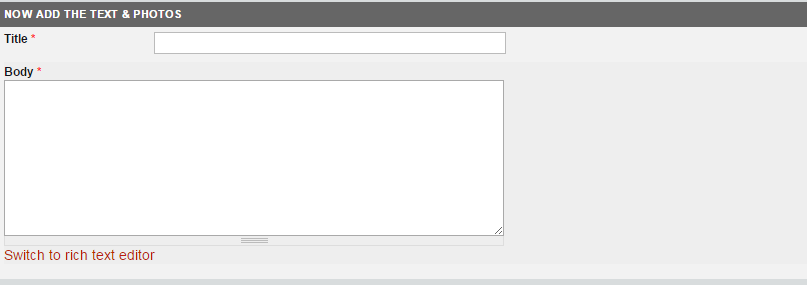
Two simple input boxes are set up for you in this section.
| Field Name | Role | Notes |
| Title | Label for your post; this will appear as heading text wherever presented | Compulsory |
| Body | The main body text for you post. Just type plain text with returns to set paragraphs etc. | Compulsory |
Under the Body box there is a control Switch to plain text editor this turns on the full text controls for adding a range of text features, embedding photos etc.
Please also refer to our guidelines for adding Text to e-Rocks.
5.Upload Images
This section is displayed collapsed - just click the down arrow in the title to open.
Depending on the number of photographs you have selected above the image upload box will open with the correct inputs set up for you.
For help with this see our Adding Images to e-Rocks page.
Once the input is appeared and images uploaded you can collapse this again and work on the next section.
Two things to note:
- please observe site copyright rules, ie make sure the images are yours or you have permission to use the images.
- images uploaded will only be saved if you click the Save at the bottom of page
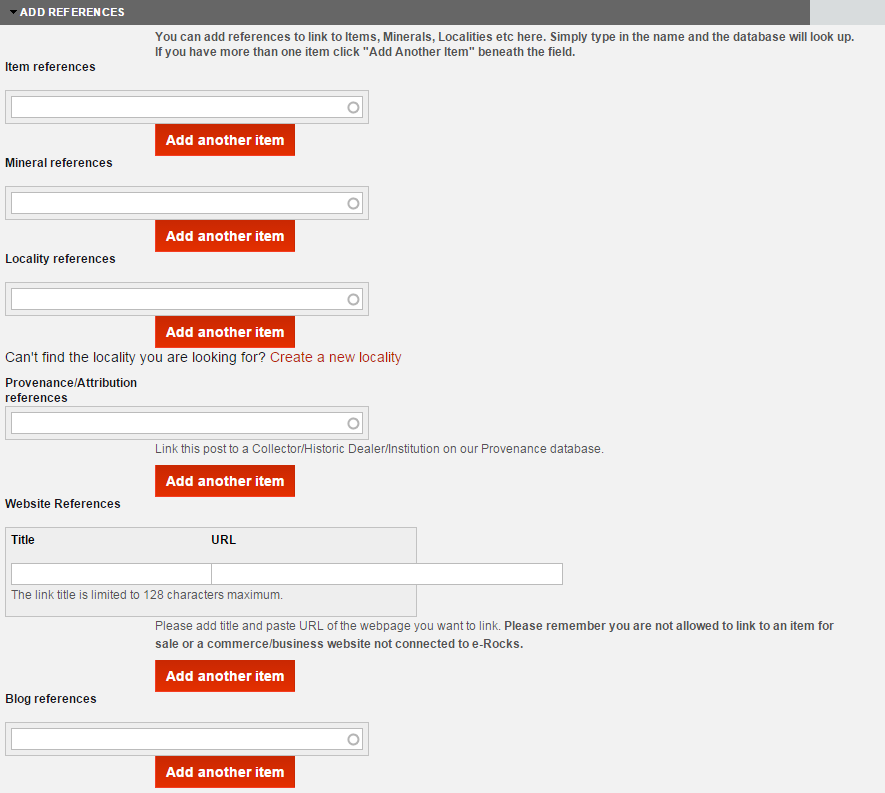
6. Add References
This section is displayed collapsed - just click the down arrow in the title to open.
The following options will appear all set up to connect your blog to the relevant part of the database.
If your blog is about germanite and ludlockite from Tsumeb, you can type these names into to the references and the database will look them up.
To add additional references click the "add another" button beneath your selection.
For an item reference you will need to know the Item code, and for a website reference paste in the URL.
| Field Name | Role | Notes |
| Item Number | Add in the prefix and six digit code for the item. | |
| Mineral | Start to type the mineral name and the database will start to return options | |
| Locality | Start to type the locality name and the database will start to return options | If the locality cannot be found you have the option to add a new locality and continue. See Help for this |
|
Provenance/Attribution |
Start to type etc. | |
| Website References | Two section, first add your title, then add the URL | The title will be displayed as a link under your blog. |
| Blog References | Start to type the blog title and the database will look up options |
7. Finally Publish Your Blog
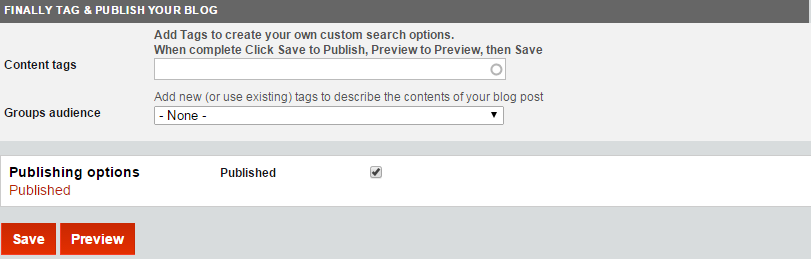
In the final section you can add content tags, these are another less formal way of indexing your blog for searching.
Basically you can add a number of tag terms separated by commas. If the database already has this tag stored if will offer you options as you type, or just add a new one. It is best to make these generic and relevant so that they will be ranked highly and visible.
The last field is for you to assign to a group only. If your blog is set with no group the default view will be public. Setting a group will keep this confined to that group only.
The final system field is set to "published", this means once saved the blog will be visible on the site.
If "published" is unchecked the saved blog can only be seen by you.
You can publish later via the Edit controls on the blog.
Click Save at the bottom of the page.
There is also a Preview button, this lets you see the compiled blog before saving (make sure you click Save) after reviewing.